Obviously you will need something to restore from and that would be your snapshots. It is assumed that you have a protection domain configured and that your VM is being protected. In addition to that you will need to install the Nutanix Guest Tools onto your VM.
The self service restore is supported on both ESXi and AHV but my instructions are based on AHV and a Windows 2012 R2, which is only one of several supported OS.
- Log into PRISM and go to Home > VM menu
- Select your VM from the table and click the Mange Guest Tools link
- Select all the options. This will require an empty cd-rom slot. Click submit

- Log into your VM and click the setup installer from mounted cd-rom
- Once the installer is finished you should see a shortcut on the desktop

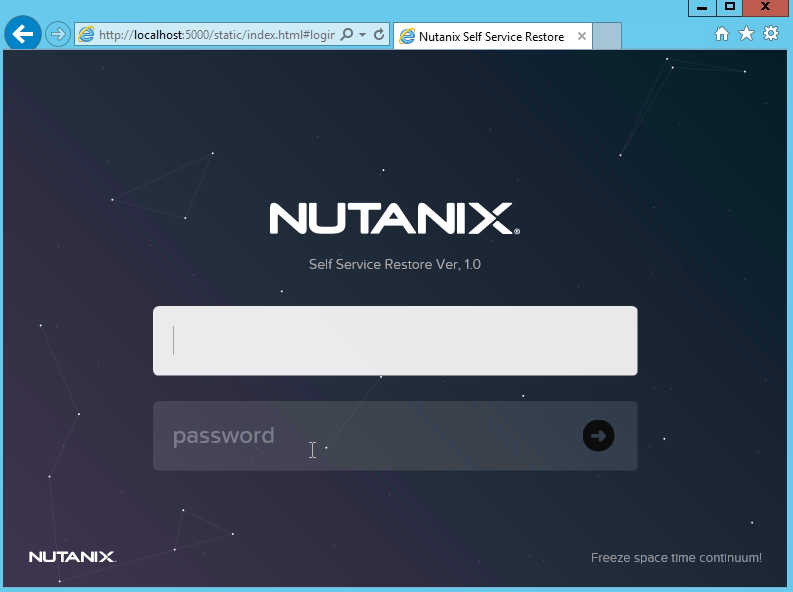
- Click shortcut and this will take you to the restore portal
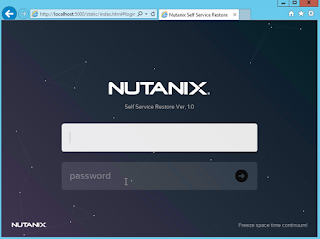
- Log in with your username and password. You will see the available snapshots

- Click the snapshot you want to restore from. Select the disk and from disk action menu select mount. The disk will appear as mounted

- Go into Windows explorer and you will notice that the snapshot is mounted under G: drive.
- This will allow you to copy files over from snapshot.Once done go back to portal and select the disk under mounted snapshots.

- Click unmount and you are finished. Snapshots will auto unmount after 24 hours


No comments:
Post a Comment